Webflow is one of the perfect solutions for starting a blog. With its easy-to-use drag-and-drop system, creating stunning websites without any coding knowledge has never been easier.
Not only can you customize your website with beautiful templates, but plenty of real examples have already used Webflow to create a blog successfully.
In this article, we will look at what Webflow is and why it could benefit bloggers, how to set up a blog using Webflow (including step by step guide), five amazing templates you can use for your blog, and some tips and tricks to set your Webflow blog for success.
What is Webflow?
Webflow is a powerful website-building platform that enables users to easily create stunning websites. It features an intuitive drag-and-drop builder interface, allowing anyone to design and build beautiful websites without coding knowledge.
Webflow also offers to host custom domains, making it easy to set up a professional blog or website in minutes.
You can start building a blog with Webflow for free here.

One of the key benefits of using Webflow for blogging is its integration with third-party services. This allows you to add functionality such as analytics tracking, email marketing tools, payment processing systems, and more from within the same platform.
You can connect your blog directly to social media accounts like Twitter and Facebook for easy sharing of content across multiple platforms.
Another great feature of Webflow is its ability to customize templates quickly and easily.
With just a few clicks, you can change colors, fonts, layouts, and other elements on your blog’s template to match your brand perfectly – no coding is required.
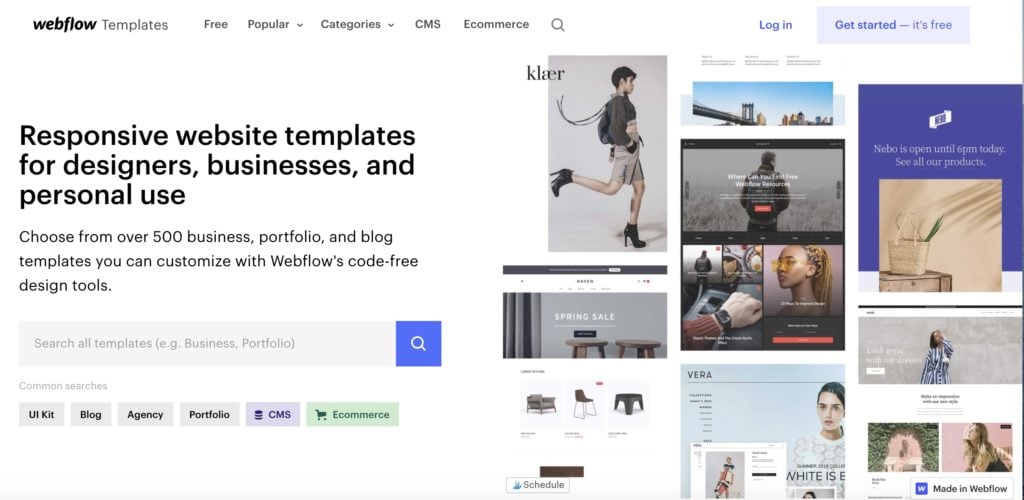
Hundreds of free templates are available if you don’t want to start from scratch or pay for one from their marketplace.
Finally, Webflow makes it simple to keep track of visitors by providing detailed analytics reports about who is visiting your site and what they are doing while they are there.
This data can be used to optimize your content strategy over time so that you get maximum engagement from readership growth and help inform decisions around which topics should be covered next on the blog itself.
Webflow is an easy-to-use, powerful website-building platform that makes creating a blog simple and straightforward. With its intuitive interface and advanced features, it’s no wonder why many people choose Webflow for their blogging needs.
However, there are other options to consider before committing to Webflow; let’s explore them in the next section.
Should You Create a Blog with Webflow?
It has become increasingly popular among bloggers due to its user-friendly interface and customization options.
However, there are some potential drawbacks of using Webflow for blogging that should be considered before deciding to use it.
Therefore, we will discuss the pros and cons of Webflow for blogging and whether you should consider using a Webflow alternative.
Pros of Using Webflow for Blogging
Design and Development Made Easy
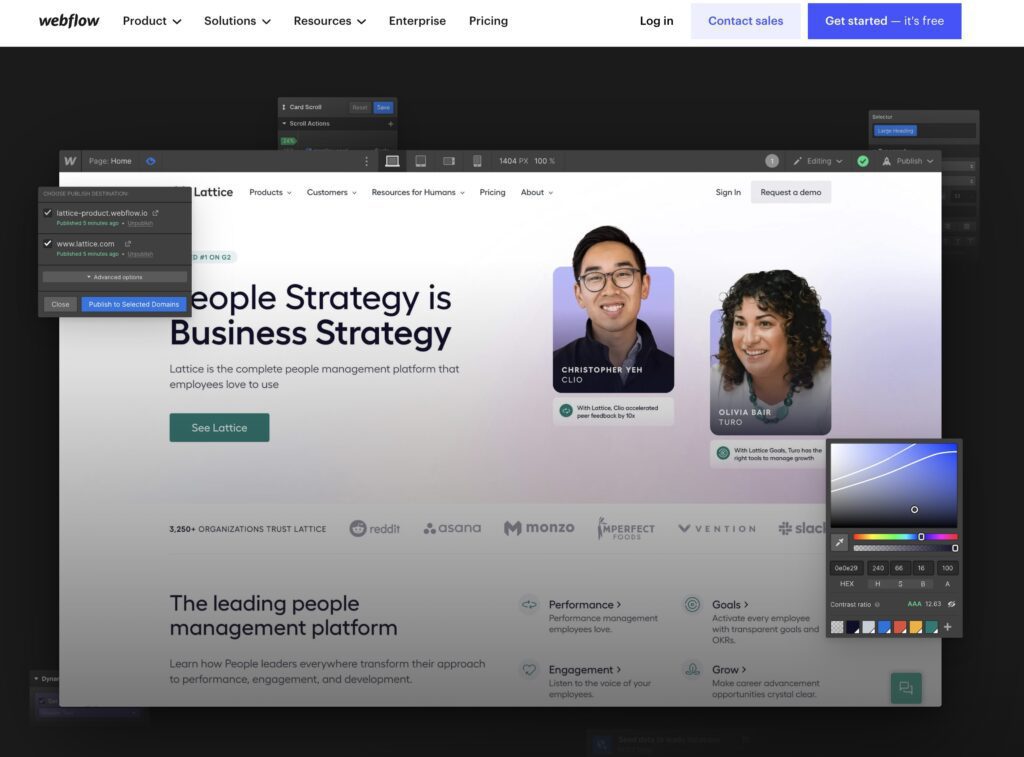
Webflow is the perfect platform for bloggers who want to quickly create a stunning, custom website without writing any code or spending days learning complex software.
The intuitive drag-and-drop interface makes it easy to customize the design of your blog – from changing fonts, colors, and layouts to adding images and videos – all while seeing how everything looks in real time on different devices (mobile, tablet, desktop).
Plus, you can use readymade components like galleries or contact forms so that you don’t have to start from scratch each time you add something new.
Furthermore, Webflow offers an extensive library of templates, so you don’t have to start from scratch when creating your blog.
With Webflow’s built-in tools, it’s easy even for beginners to create a beautiful blog.
Customize Your Blogging Experience
With Webflow’s powerful CMS (content management system) features, you can easily customize every aspect of your blogging experience—from:
- setting up content types like posts or pages,
- organizing content into collections,
- using tags and categories for better organization, enabling comments & social media integration,
- integrating third-party services such as MailChimp or Google Analytics
- to managing users & permissions — the possibilities are endless.
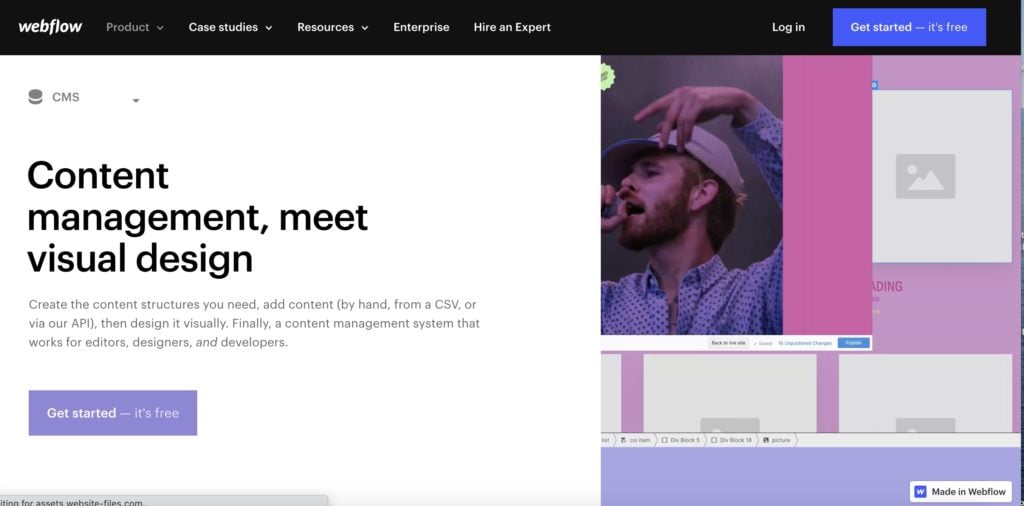
So if you’re looking for an advanced yet simple way to take control over every detail of your blogging experience, use Webflow’s CMS.
A Powerful CMS for SEO Optimization
When it comes to search engine optimization (SEO), having a powerful CMS is essential if you want people find what they’re looking for when they search online.
And luckily with Webflow, there are plenty of options available out of the box, including customizable page titles, meta descriptions, and more advanced features such as canonical URLs.
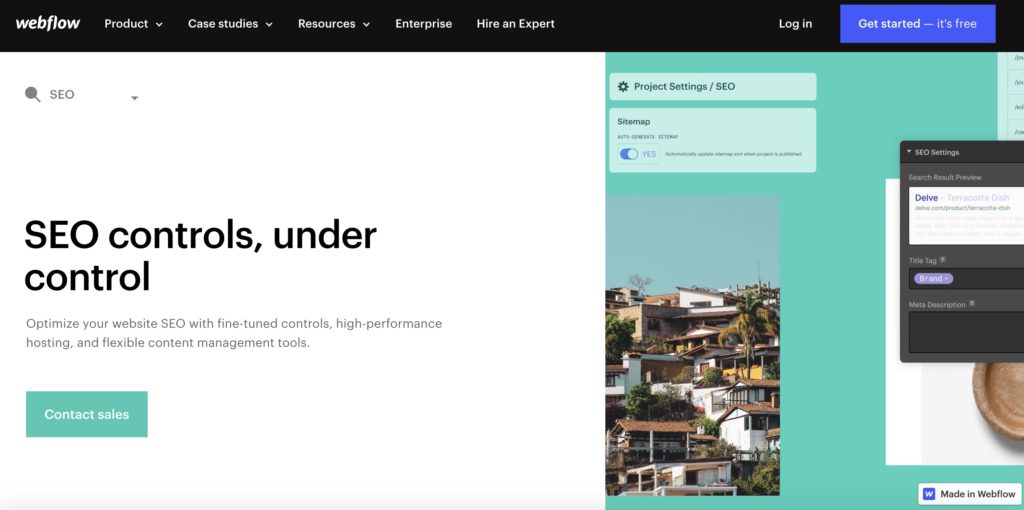
All these features combined ensure that your site will be optimized correctly, laying the foundation for ranking in organic search results.
Cons of Using Webflow for Blogging
Expensive hosting
On the other hand, one downside is that hosting on Webflow can be expensive compared to other platforms like WordPress or Squarespace.
Limited Plugins compared to WordPress
Additionally, while many plugins are available on Webflow, they may not offer all the features you need if you want more advanced functionality on your blog.
Alternatives such as WordPress offer cheaper hosting plans (when using HostGator to host your WordPress site) and more comprehensive plugin libraries.
Both Webflow and WordPress provide simple drag-and-drop editors, so even those who aren’t tech-savvy can still build their own blogs quickly and easily without any coding experience.
Additionally, both platforms also offer a wide range of free themes and templates, so you don’t have to worry about designing everything from scratch either.
How to Start a Blog with Webflow (Step-by-Step Guide)
Setting Up Your Account on Webflow
Creating an account on Webflow is easy and straightforward.
All you need to do is visit the Webflow website, enter your email address, create a password, and click “Sign up.” Once you’ve done that, you can start designing your blog right away.
Start using Webflow for free here.
Designing Your Blog on Webflow
With Webflow’s intuitive drag-and-drop editor, it’s easy to customize the look of your blog with no coding required. You can choose from hundreds of templates or design one from scratch using their powerful tools for customizing fonts, colors, layouts, and more.
Plus, if you ever get stuck while creating your blog, plenty of tutorials on Webflow University are available online to help guide you through the process.
Once you’re finished designing your blog, all left to do is hit the “Publish” button in the top right corner of the screen. Wait a few moments while everything gets set up in the background, and then follow any additional instructions provided by WebFlow.
Finally, it’s time to share your new blog!
Creating a blog on Webflow is an easy and efficient way to get your content out there. With the right templates, you can create a stunning blog that stands out from the crowd.
Next, let’s take a look at some beautiful examples of templates for your blog on Webflow.
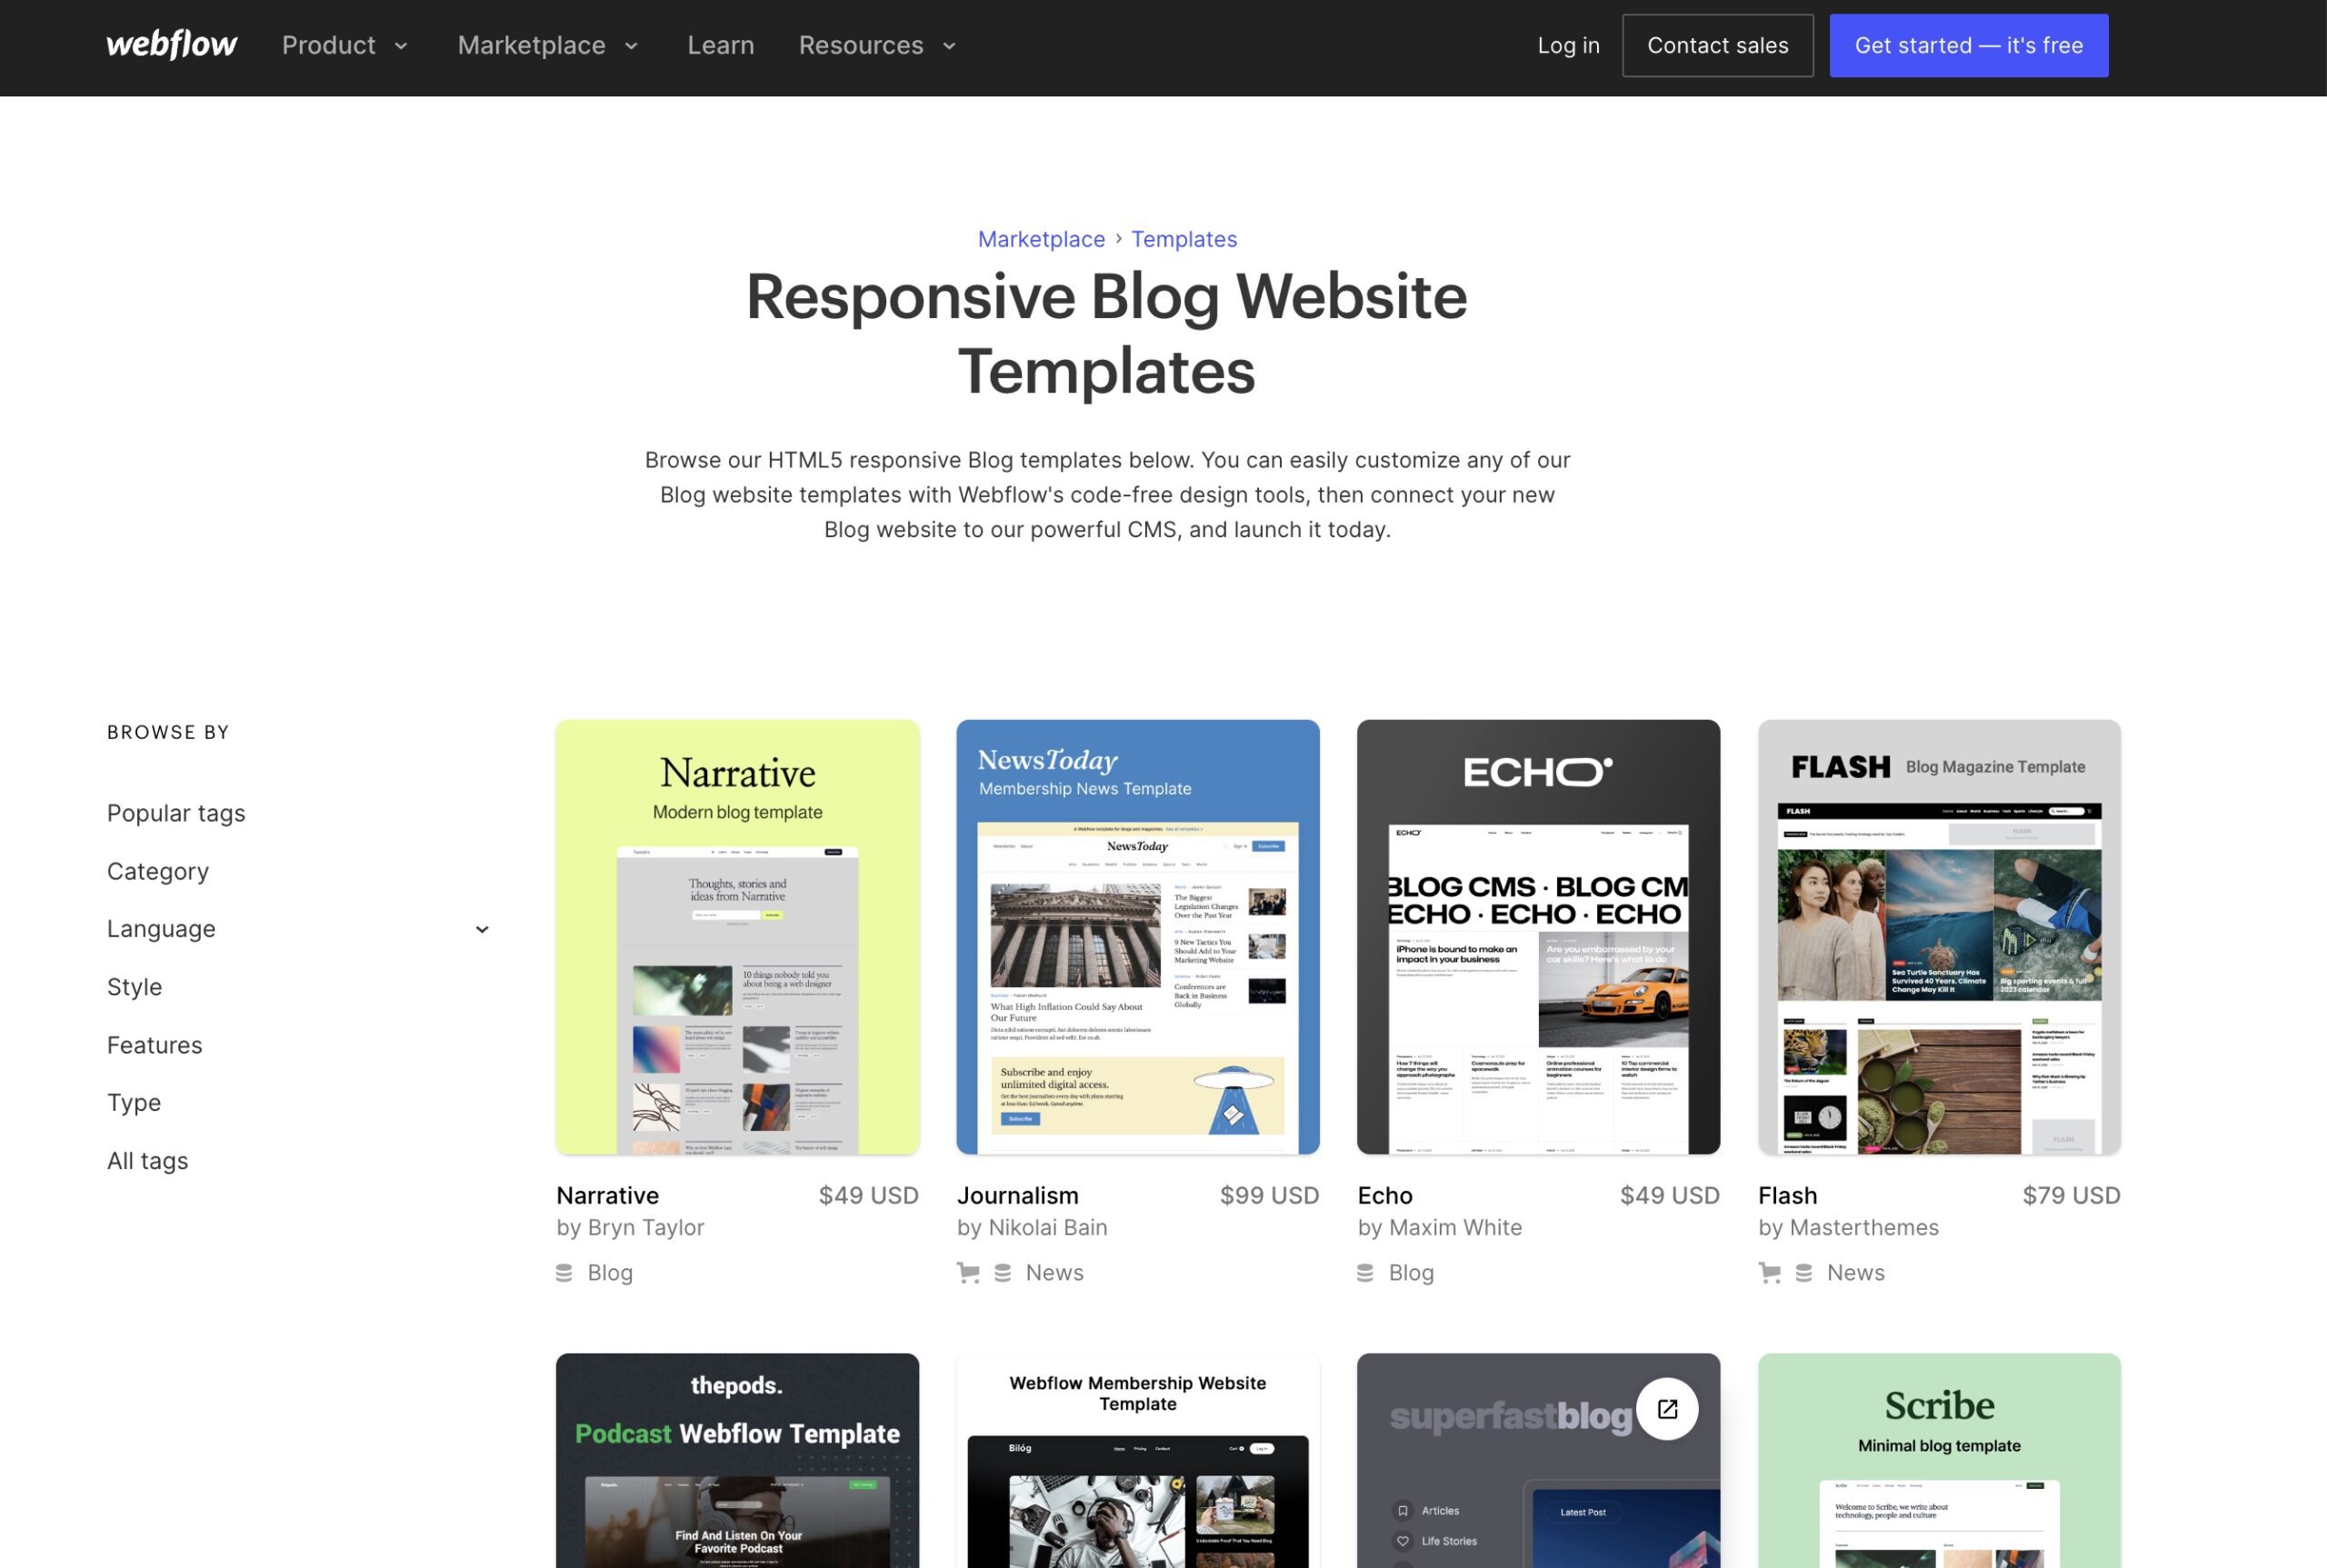
Examples of Beautiful Templates for Your Blog on Webflow
Here are five Webflow templates we think are good for creating a blog:
1. Scribe
Scribe is a minimalistic template perfect for a simple yet modern blog design. It has an easy-to-use navigation bar and a minimalist layout that makes it easier to focus on the content of your posts.
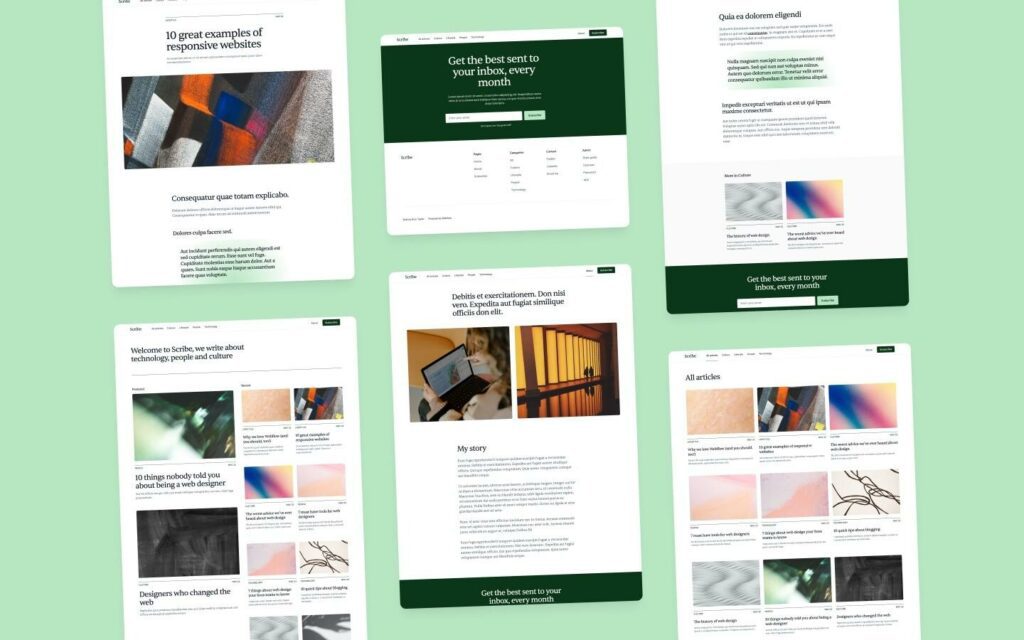
Plus, its customizable colors and fonts make it great for personalizing your site’s look and feel.
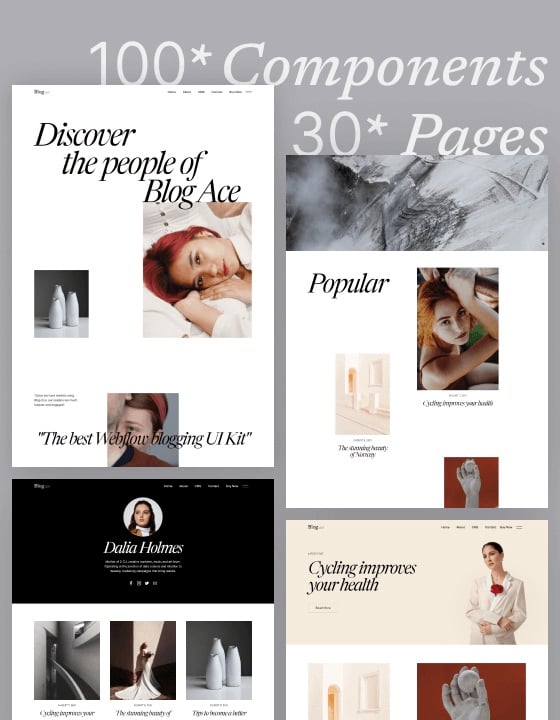
2. Blog Ace
If you’re looking for something more creative, the Blog Ace template offers plenty of unique features like an eye-catching grid pattern in the background, multiple post formats, parallax scrolling effects, etc., which can help you stand out from the crowd.
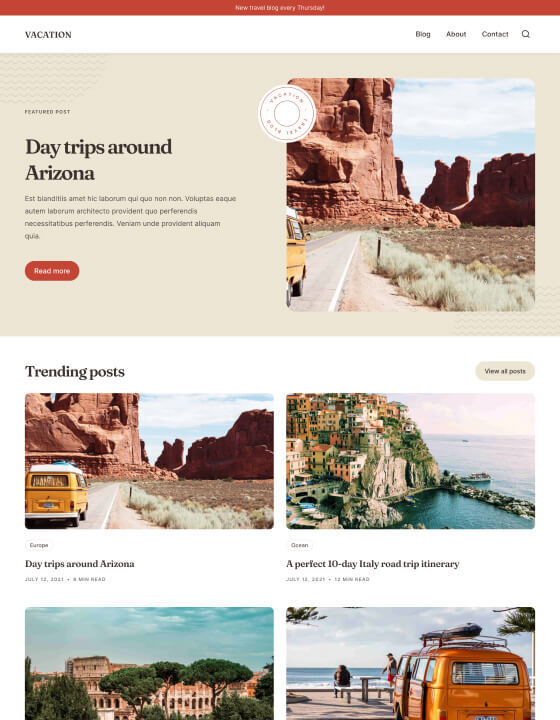
3. Vacation
As its name suggests, the Vacation template is ideal if you love writing about your travel journeys or any other adventure stories – with beautiful full-width images as part of its design to give readers a real taste of what they’ll be reading about.
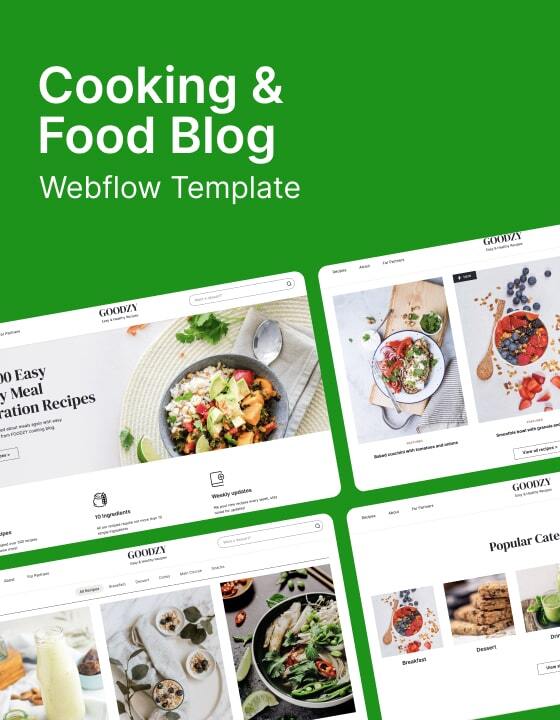
4. Goodzy
With big, bold images and vibrant, bold colors used as part of its aesthetic appeal, the Goodzy theme is perfect for food bloggers passionate about cooking delicious dishes. The menu options are also very user-friendly so readers can easily navigate through your recipes without any hassle at all.
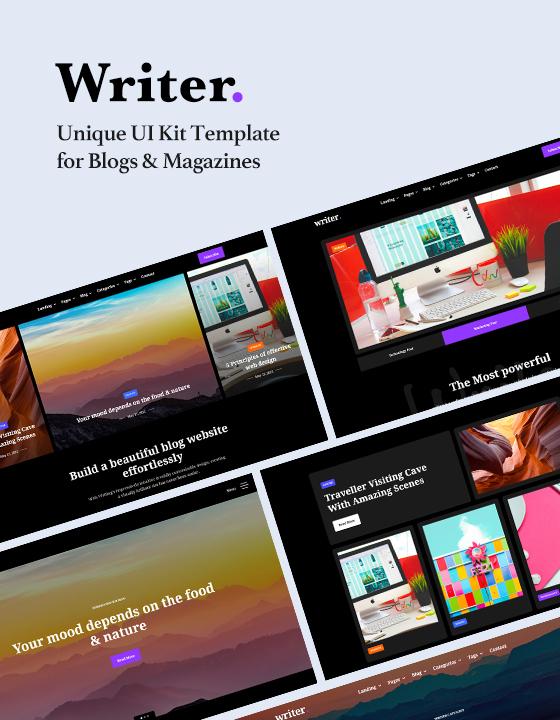
5. Writer
A clean & sophisticated theme designed specifically for writers – The Writer template looks stunning no matter what device visitors view it on. Its minimalist design puts emphasis on readability while giving authors enough space & tools to express themselves creatively.
Tips to Set Your WebFlow Blog for Success
If you want to set your Webflow blog for success, some tips and tricks can help you optimize site performance and maximize visibility on search engines.
Optimizing Performance With Caching and Compression Techniques
Caching helps speed up loading times by storing static files such as images or scripts in memory, so they don’t have to be downloaded every time someone visits your page.
You can also compress files which reduce file sizes significantly without sacrificing quality. This will improve loading times even further while reducing bandwidth usage simultaneously.
Utilizing SEO Best Practices For Maximum Visibility On Search Engines
SEO (Search Engine Optimization) is essential for getting your website noticed by potential customers online.
When using Webflow, include relevant keywords in titles, meta descriptions, headings, content body text, etc., and optimize image alt tags for better indexing by search engine crawlers like Googlebot.
Additionally, create an XML sitemap that contains all URLs within your domain so that search engines know what pages exist on your site and how often they should be crawled for updates.
If you want to improve SEO, check out the best SEO software here to help you with keyword research, competitor analysis, and more.
Conclusion
Webflow offers a wide range of features and benefits, making it the perfect choice for those looking to quickly and easily create beautiful, functional sites quickly and easily.
Its intuitive drag-and-drop interface makes it easy to design your site without coding knowledge, while its built-in hosting lets you get your website up and running quickly.
Additionally, Webflow provides access to a vast library of templates that can be easily customized, allowing users to create unique designs without having to start from scratch.
The main benefit of using Webflow is its speed and efficiency. With Webflow, you can build a fully functioning website in just minutes – no coding required. This makes it ideal for those who are short on time or don’t have the technical know-how needed for more complex web design and development projects.
Furthermore, by utilizing SEO best practices such as optimizing page titles and descriptions and integrating third-party services like Google Analytics into your site’s codebase, you can ensure maximum visibility on search engines which will help drive traffic to your website.
Ultimately, if you want an efficient way of creating stunning websites, look no further than Webflow; it has everything you need.
You can sign up on Webflow for free here.
However, if you want a cheaper option and don’t mind spending a bit more time setting it up, use WordPress and HostGator to host your WordPress blog.
Sign up on HostGator here with our exclusive promotion code “VENTURER” to get 65% off.
FAQs
Yes, Webflow is a great platform for creating blogs. It offers an intuitive drag-and-drop editor that makes it easy to design and customize your blog’s look and feel. You can also use custom code to add more advanced features like contact forms or interactive elements. Additionally, you can host your blog on Webflow’s servers with fast loading times and reliable uptime. All in all, Webflow is a great choice for anyone looking to create a professional blog quickly and easily.
Yes, you can create a blog with Webflow. It is an easy-to-use website builder that allows users to quickly and easily design, build, and launch their own websites without any coding knowledge. With Webflow’s intuitive drag-and-drop interface, it is simple to customize your blog’s look and feel in just minutes. Additionally, the Webflow platform offers a variety of features such as: custom websites and domains, SEO optimization tools, analytics tracking capabilities, ecommerce support for selling products or services through online stores directly from your blog. All of these features make Webflow an ideal platform for creating a blog.
You can use Webflow free plan to create a blog under the webflow.io domain. It’s absolutely free to start a blog with the free plan.
However, if you want to use a custom domain, you’ll need to upgrade to a paid plan to access the full range of features. The plans start at $14 per month for a basic site plan. All plans come with unlimited hosting, custom domains, secure SSL certificates, and many more features.
Publishing a blog post on Webflow is easy and straightforward. First, log in to your Webflow account and click the ‘+ New’ button at the top of the page. Select ‘Blog Post’ from the drop-down menu that appears. This will open up a new window where you can enter your post title, content, tags, categories, and featured image. Once you are done entering all of this information, click ‘Save & Publish’ at the bottom right corner of the page to make your post live. You can also save as a draft or schedule it for later if needed.