Do you want to install WordPress on HostGator to start your blog or website?
This tutorial will walk you through step-by-step to sign up for HostGator web hosting and install WordPress to create your blog.
Before we begin, make sure you claim your coupon code here using “VENTURER” to enjoy 65% off!
Why Hostgator?
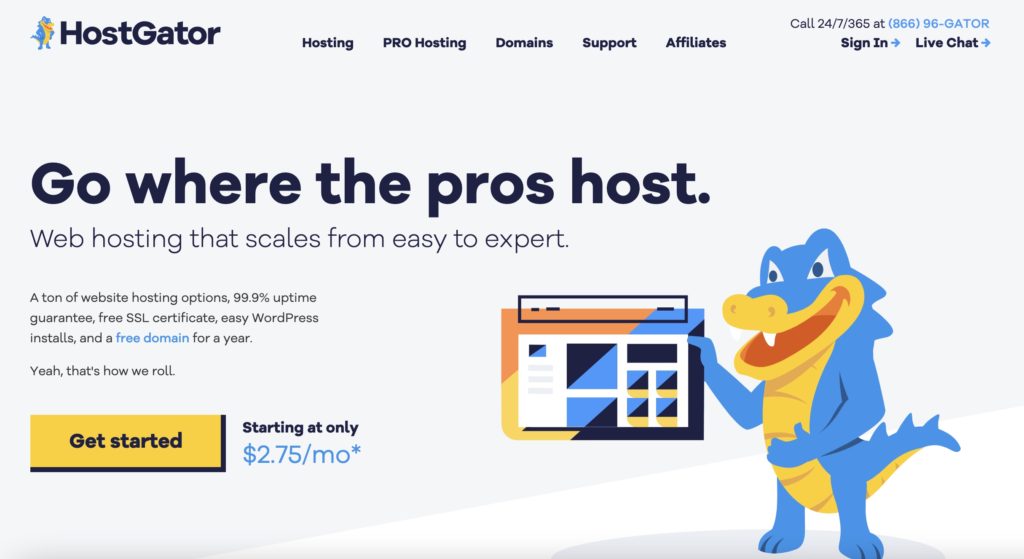
HostGator hosts more than 2 million domains and is one of the most popular web hosts in the industry. With 1-click WordPress installation, 99.9% uptime guarantee, 45-day money-back guarantee, and 24/7 support, it’s a smart choice for all website owners.
Which Hostgator Web Hosting Plan is Best for You?
HostGator offers many affordable plans that are perfect for starting your blog. Here’s a list of them:
- Shared Hosting
- Website Builder
- WordPress Hosting
- VPS Hosting
- Dedicated Hosting
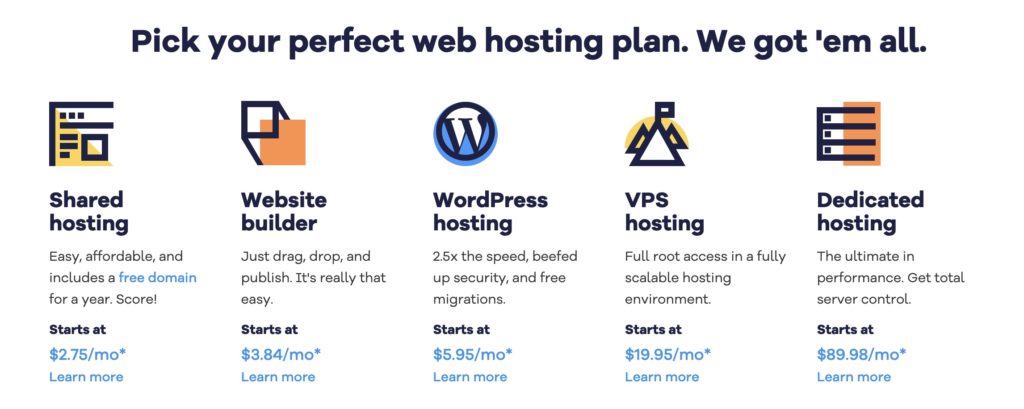
For beginners, we recommend starting with the most affordable option, Shared Hosting plans, which start at $2.75 per month. You can see them on the shared hosting plans page here.
If you’re building a website, the hatchling plan is perfect for you. If you want to start multiple websites, the Baby Plan gives you unlimited domains.
Step 1: Choose and Register a Domain Name
After you pick a web hosting plan, you can select your domain name or use a domain registered with another company (like NameCheap) by selecting the “I Already Own This Domain” tab.
When you enter the domain name and select your preferred domain extension, it will immediately check whether it is available.
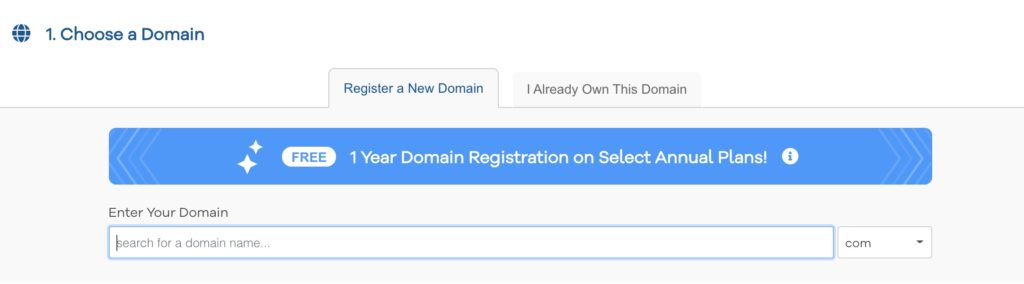
Make sure you keep Domain Privacy Protection checked. It masks the domain owner’s information in ICANN and replaces it with HostGator’s, so you can protect your privacy online. Otherwise, your registration details will be available to the public.
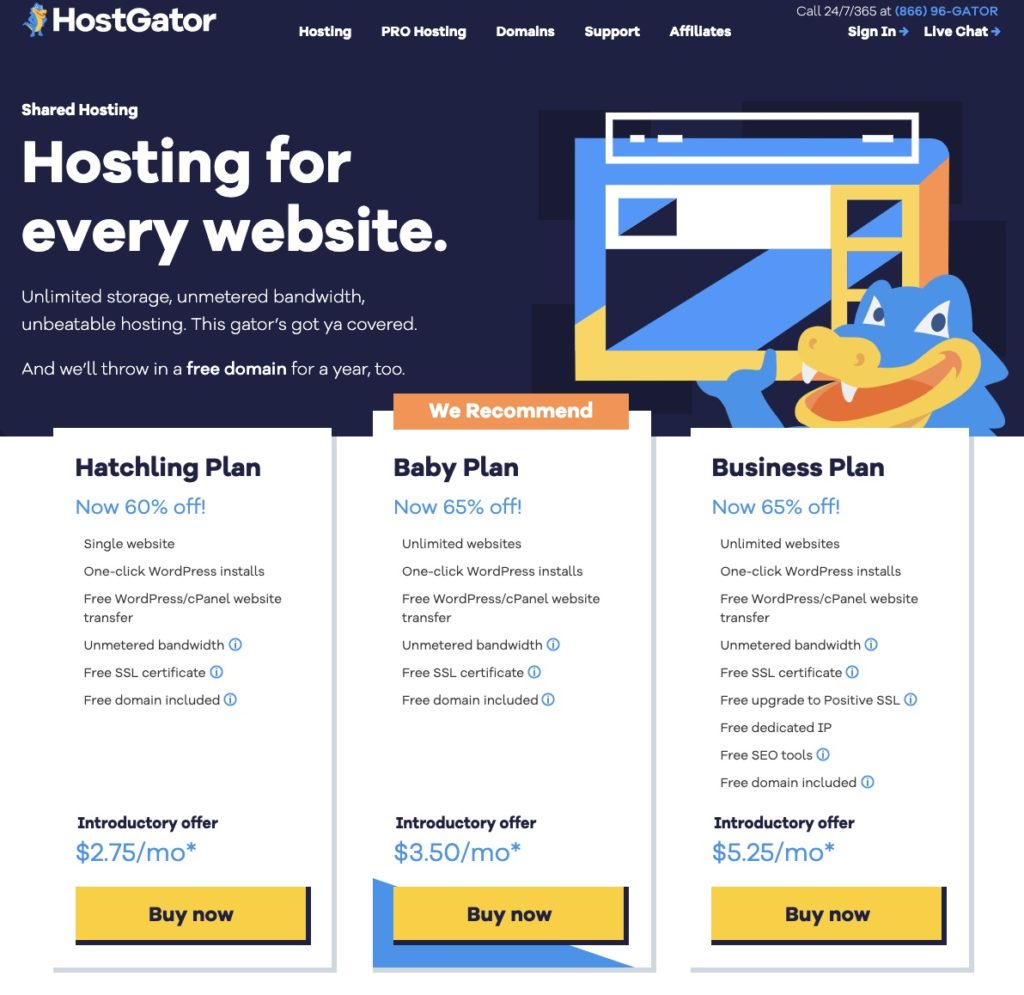
Step 2: Choose Your Hosting Plan and Billing Cycle
Next, you’ll choose your hosting plan and billing cycle. You will get the biggest discount if you opt for the longer term of 36 months.
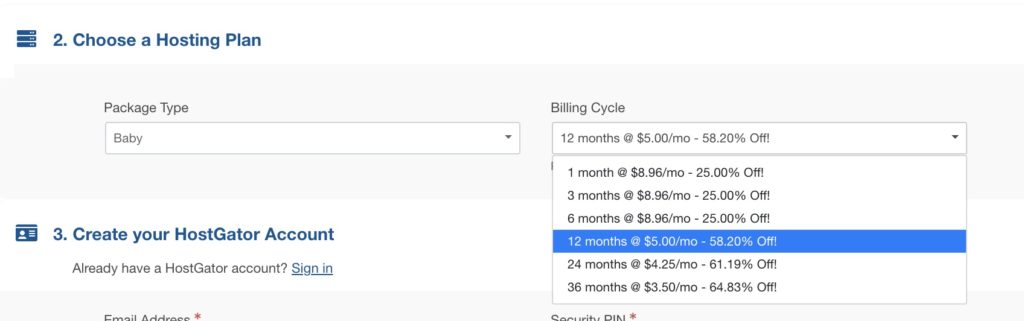
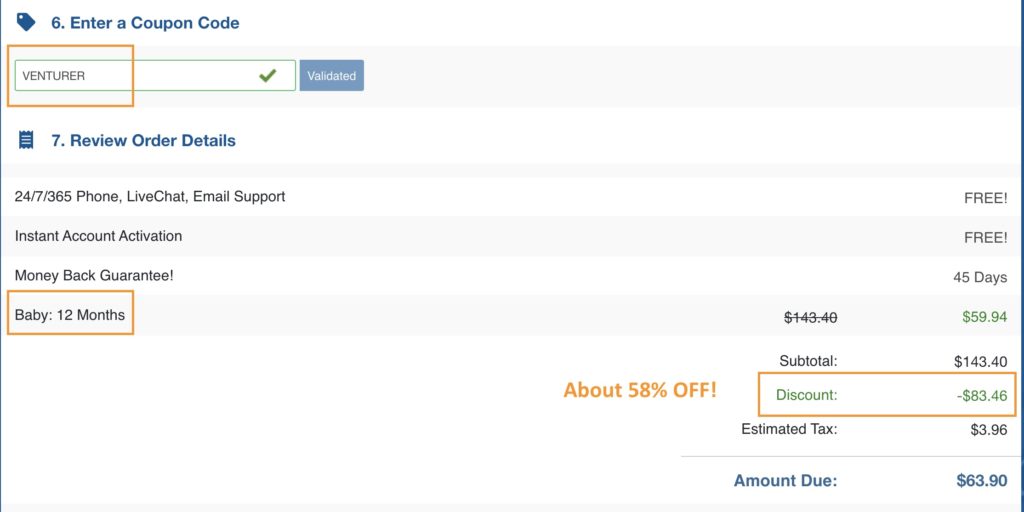
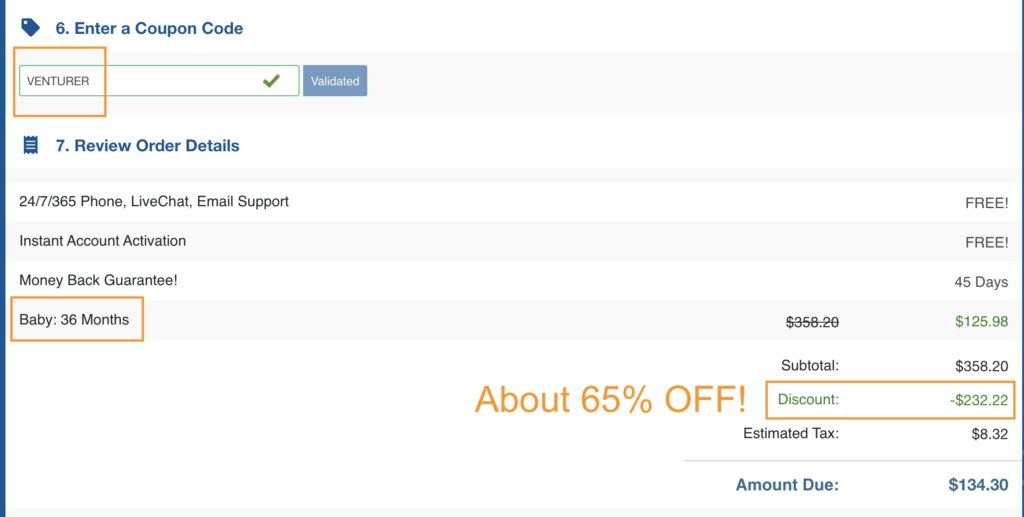
But with our unique promo code “VENTURER,” you’ll get the best deal across all billing cycles!
For example, you’ll get about 58% OFF the 12-month plan.
And 65% OFF the 36-month plan!
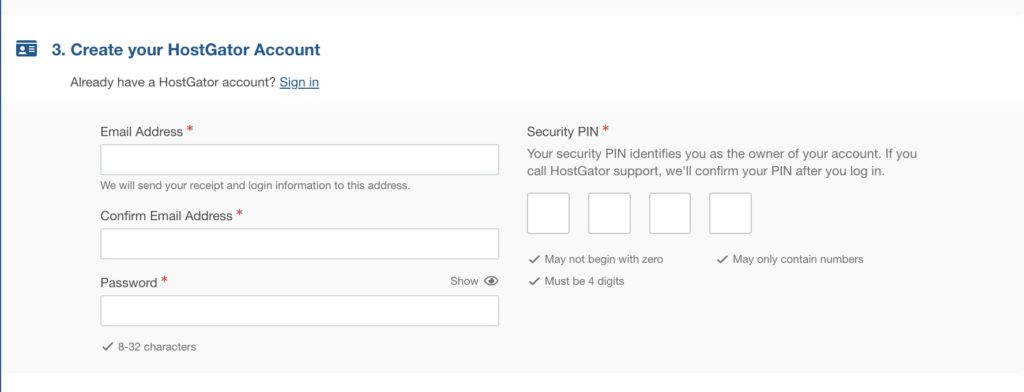
Step 3: Create your Hostgator Account
Creating your Hostgator account is pretty straightforward. Simply enter your email address, password, and a security pin.
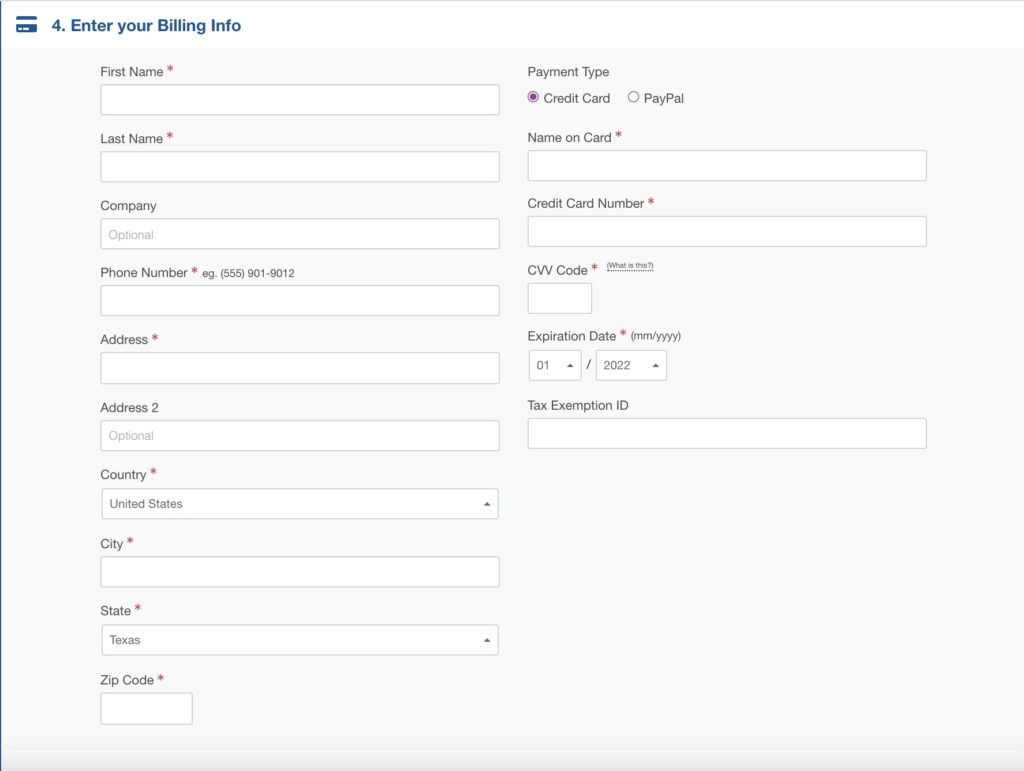
Step 4: Enter Your Billing Info
Then, you’ll enter your billing info. You can choose to pay with a credit card or PayPal.
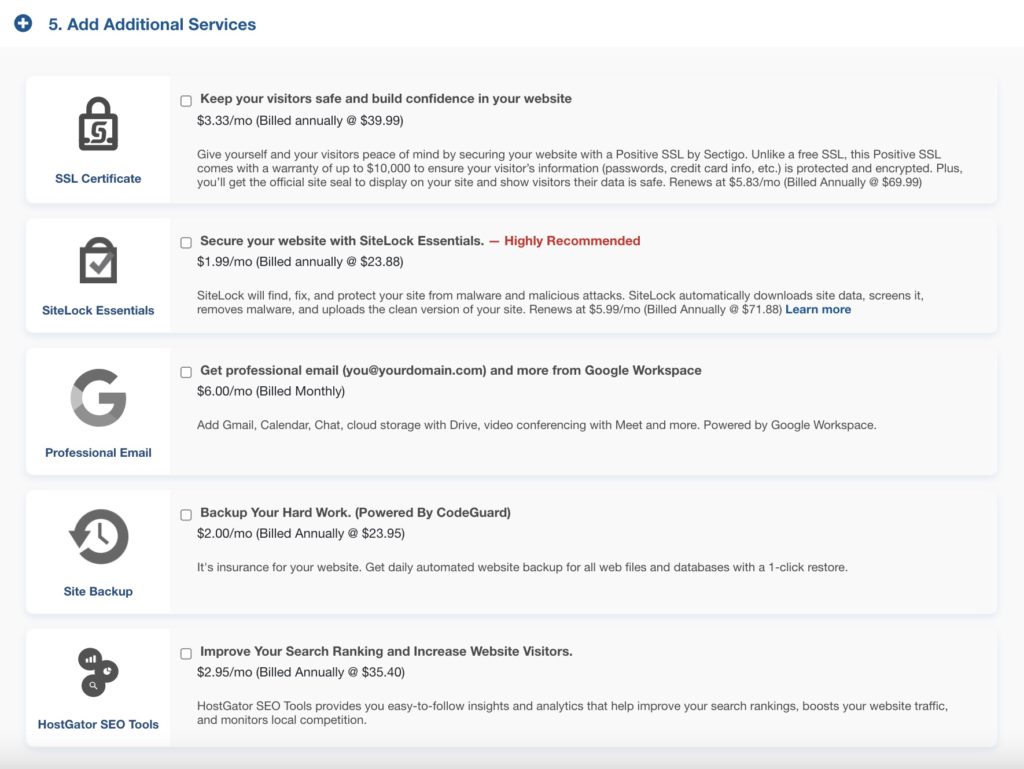
Step 5: Add Additional Services
You can add additional services like an SSL certificate, Google Workspace, and Site Backup.
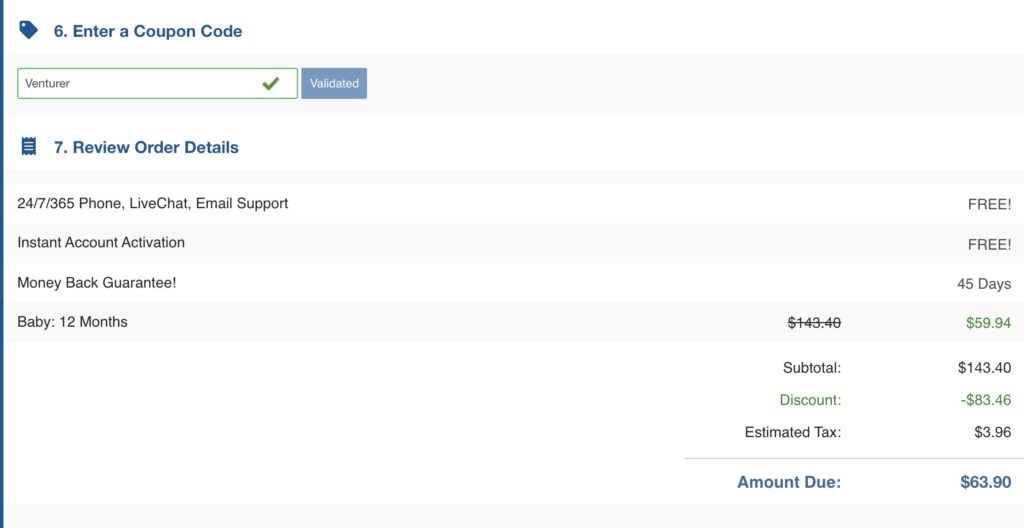
Step 6: Enter a Coupon Code and Check out
Make sure you enter “VENTURER” in the coupon code field to get the best deal! Then, you can review your order details to see the discount applied.
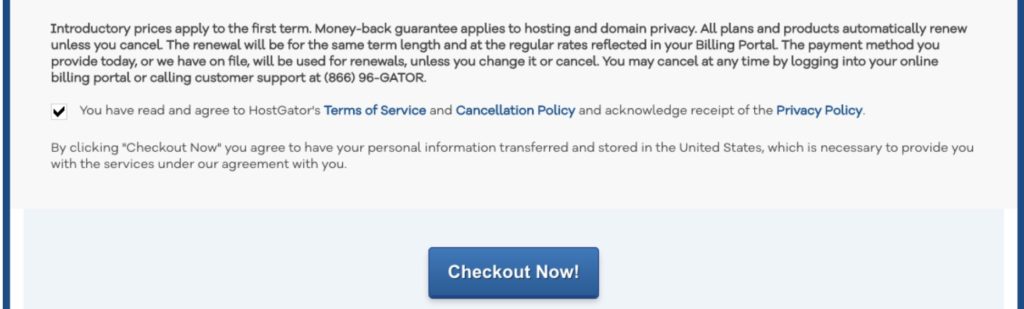
Finally, click that you agree to the Terms and Conditions, then the big blue “Checkout Now!” button.
Congratulations! You’re now the proud owner of your website!
Installing WordPress on Hostgator
The next step is to install WordPress, the world’s most popular blogging platform, so you can start writing.
When you have completed your purchase, you should have received an email from HostGator with your cPanel username and password.
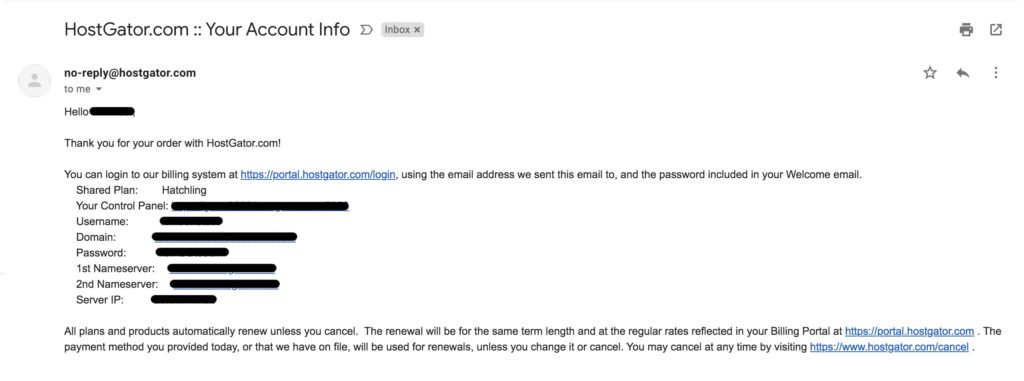
CPanel is the portal with which you manage your web hosting. The cPanel link is unique to you, so make sure you bookmark it for future reference.
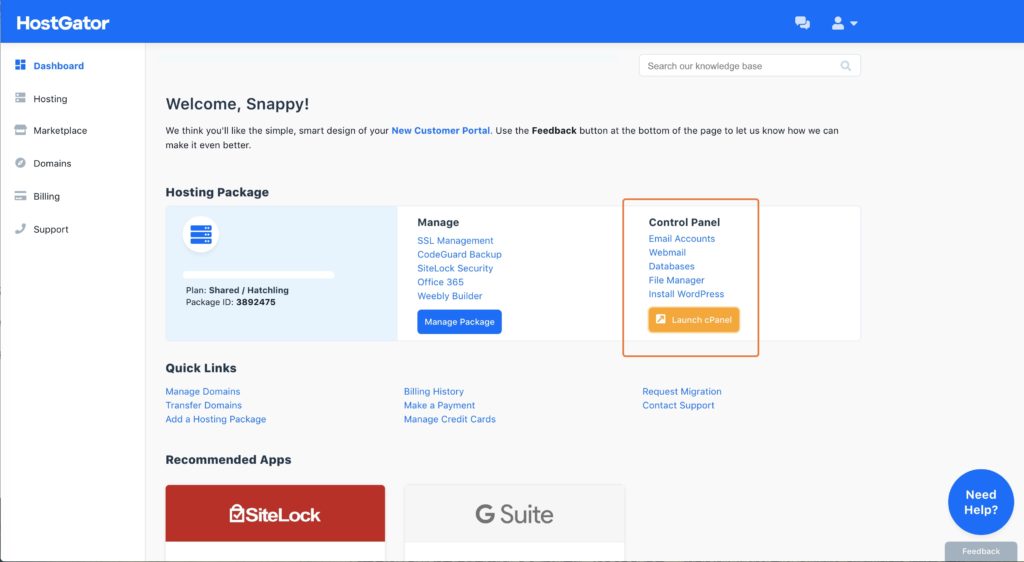
Log in to Hostgator, navigate to the “Control Panel” section and click the “Launch cPanel”.
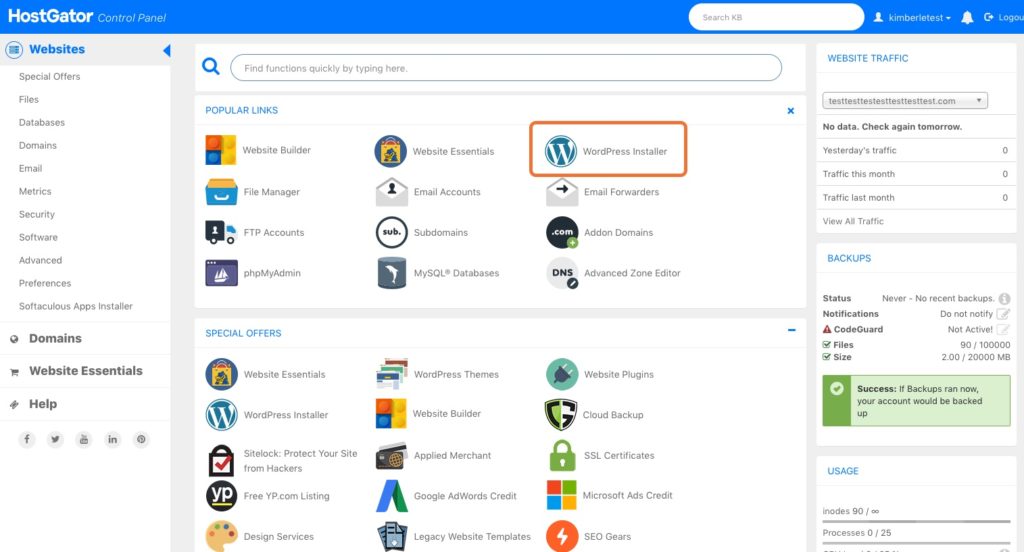
Then, you’ll see the option to install WordPress. Click “WordPress Installer”.
A progress bar at the top of the page will inform you that the installation is done. Once completed, you’re ready to start working on your WordPress site! Check your email for your WordPress username and password and a link to your WordPress dashboard.
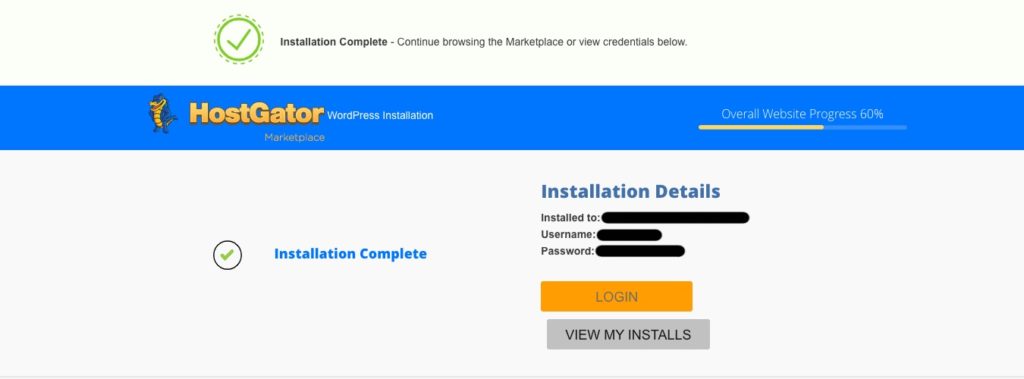
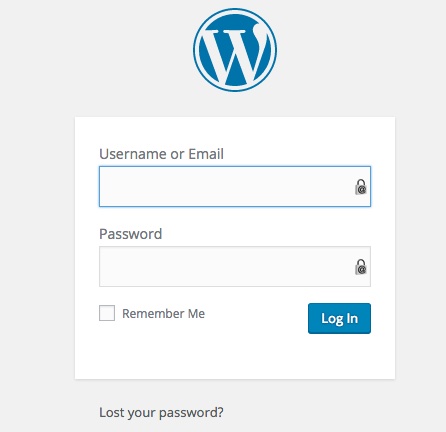
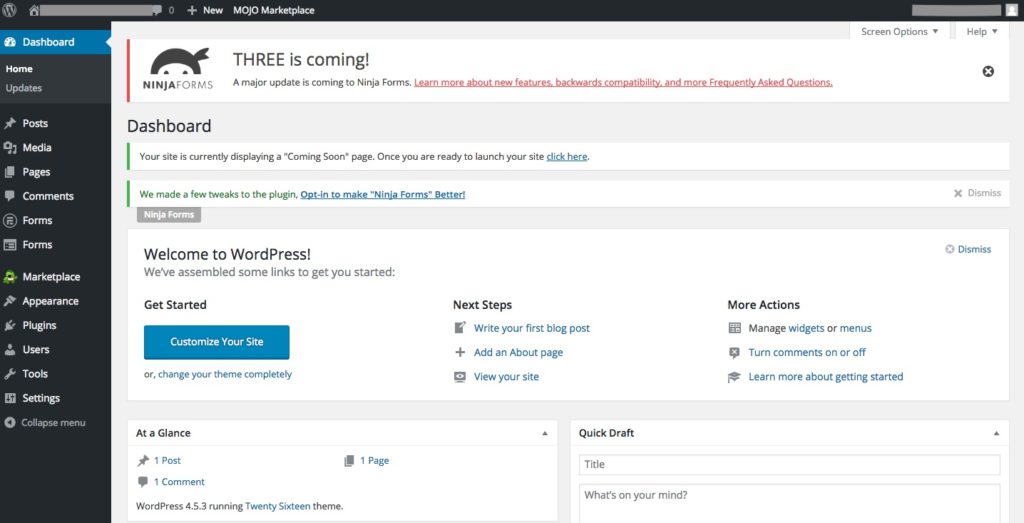
Now, you can login to your WordPress dashboard!
Here’re a few useful resources for new blog owners:
- Curious about how to drive organic traffic to your blog? Read my SEO guide for beginners
- Making money from your blog: the best affiliate programs for beginners
- Growing your email list? Use the best email marketing software
Make sure you claim your coupon code here using “VENTURER” to enjoy 65% off!
Further read:
10 Ways to Make Money Online Right Now
The 8 Best WordPress Hosting Companies Of 2022 (Compared And Reviewed)